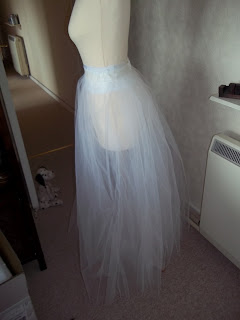
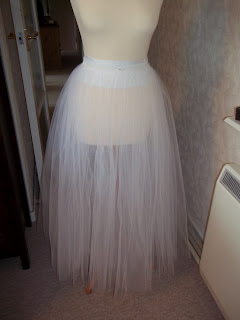
Starting with the smallest layer gather up the top edge and match c/f to c/f on basque. Gather up making sure to put most of the gathers at the back. This creates a nice shape to the Tutu and flatters the dancer otherwise it could look like she has a belly or big hips!
Each layer is added bringing the gathers around the front of the basque a bit.
The shape took the longest as you could play around with the net for ever before you feel it is right.
I was initially worried about the net showing the stitching between the panels but once the net started layering up it becomes invisible and blends with the background.
I am really pleased with my skirt and the layering and shaping makes it look so floaty and flowing. This process has given me a real insight into the works of making a ballet tutu and how much effort and detail go into creating one.
Pictures of the process:
layer 1
 |
 |
| layer 2 |
 |
 |
| layer 3 |
 |
| layer 4 |
 |
| layer 5 |
Now all that needs to be done is to steam it and level the tutu. Add my fastenings to the back and attach to the bodice.


No comments:
Post a Comment